
ares. 🎧 · Launch Video Breakdown: Hook, Pacing & Motion Design
The best AI model for web design I've tried this year. Kimi K2.6. 11 minutes of tutorial. Professional websites. Give it some support
Scene-by-scene timeline & spoken transcript
The Hook
AI-Powered Design Workflow Introduction
“So, this is the best AI model for web design I've tried this year. It's called Kimi K2.6. And in this video, I'm going to show you how to use it to create professional websites in just 11 minutes. So, let's get started.”
- On screen
- Dashboard, Rooms, Settings, Subscription Growth Experiments, Weekly Insights, Product Strategy 2023, User Onboarding Team, User & Market Research, Core Product Team, Create a room, Meeting is about to start, Screen Share 0:30, Kimi Agent, Relaunch to update
- Camera
- Static wide shot of a desktop interface, then a close-up on a web design preview, followed by a zoom into a Figma canvas.
- Motion
- Seamless desktop screen recording with cursor interaction, demonstrating real-time AI design generation and editing.
Product Reveal
Hero Section & Responsive Design Generation
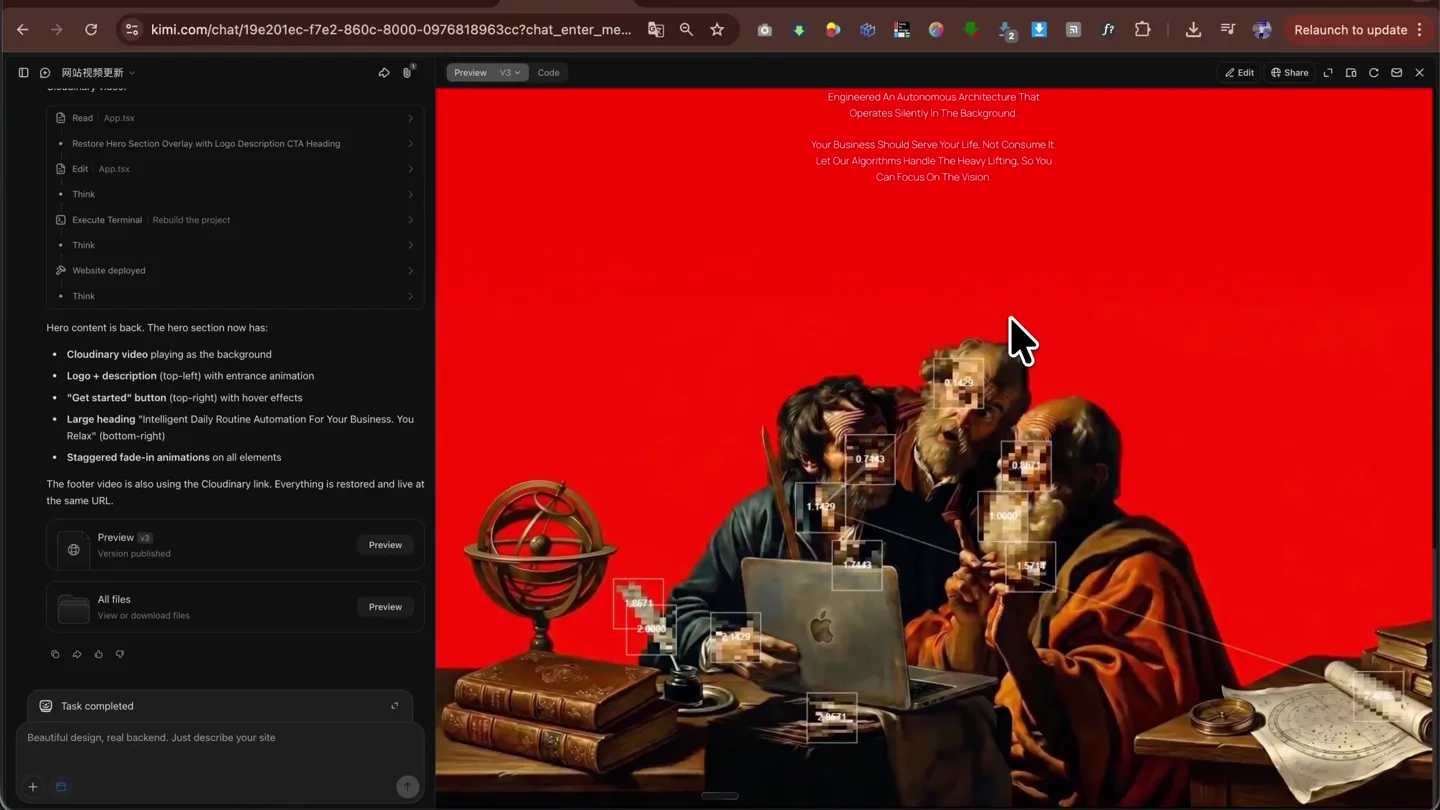
“First, let's create a simple hero section for a brand portfolio designer. We'll use this image in the center. We'll have some other headline at the top. Some text on the right or on the left. Keep this image in the center so it's nicely fitting our design. Use some modern minimalistic fonts. Let's keep the navigation minimalistic. Let's use this image as the background without any other overlays and without any elements that will interfere with our image. Do not generate any additional images, just keep this. I'll start by examining your uploaded image and reading the skill instructions to understand the design and requirements. I'll build responsive website from image with grid and z-index. I'll read the skill ID. I'll build Brandly single page site with image background no overlay no animations. I'll use the uploaded image, a striking portrait of a person wearing a futuristic, high-tech face mask with blue accent lights against a clean, light grey/white background. This will make an impressive fullscreen background for the Brandly agency hard. Let me set up the project and get started building this out. I'll write to do. Beautiful design, real backend. Just describe your site.”
- On screen
- KIMI, Type '/' to quickly access skills, Agent, K2.6 Instant, Agent Swarm leveled up, Multimodal, Create me a simple hero section for a brand portfolio designer. We'll have this image in the center. Then we'll have some other headline at the top. Some other text on the right or on the left. Keep this image in the center so it's nicely fitting our design. Use some modern minimalistic fonts. Let's keep the navigation minimalistic. Let's use this image as the background without any other overlays and without any elements that will interfere with our image. Select template, Memory Lab, Cyber Rain, Dream Run, Flow Shader, Color Room, Vortex Gallery, Sunset Trip, ASCII Moon, Liquid Paint, Brandly, Building Brands That Resonate, Thoughtful design that captivates, empowers, and creates lasting impact. Start Today, 50+ Brands Launched, Partnering with startups and established businesses to craft identities that stand out and drive growth. 5+ Years in the Industry, From concept to execution, I bring years of expertise in brand strategy, visual identity, and digital design to deliver something truly unique. Sign Up, Log In, About, Features, Pricing, FAQ, Help, Minimal Hero Section, Read, Mobile, Build responsive website from image with grid and z-index, Read skill ID, Build Brandly single page site with image background no overlay no animations, Use the uploaded image - a striking portrait of a person wearing a futuristic, high-tech face mask with blue accent lights against a clean, light grey/white background. This will make an impressive fullscreen background for the Brandly agency hard. Let me set up the project and get started building this out. Write Todo, Task completed, Beautiful design, real backend. Just describe your site, Desktop - headline has good breathing room from the navbar (~100px padding), '50 Brands Launched' without the a two-column layout with stats on the right, bio and experience anchored to the bottom. Mobile - center nav links (hamburger menu icon shown instead). Sign up button hidden to save space, content stacks vertically in reading order headline -> CTA + stats + experience -> bio + socials. Subtle text shadows keep text readable over the face image. The hamburger menu opens a dropdown with all nav links when tapped. Everything fits within the viewport without scrolling. Your updated site is live at https://jerfoyhixga6.kimi.page, Background - inline SVG, opacity: full-cover, absolutely positioned behind content. A 'pattern ID="grid"' with 'width=48', 'height=48' 'patternUnits="userSpaceOnUse"' which are bound to a ref-driven
- Camera
- Screen recording showing prompt input, template selection, and the generated website, followed by a responsive design preview on a mobile emulator.
- Motion
- Real-time UI generation with smooth transitions between input fields and output display, highlighting the AI's speed and accuracy.
Feature Teaser
Dashboard Creation & Day/Night Mode
“Now, let's build a dashboard using liquid glass. I'll attach below and use similar position to the elements in the image as a reference. Also, add a day and night mode switcher, but it should not be functional just now. I'll update on that later. These are the liquid glass tiles that I want you to use across our dashboard. Liquid glass utilities, exact CSS in a style block. Two variants, liquid glass subtle for nav chips and cards, and liquid glass stronger heavier blur for primary CTA. Beautiful design, real backend. Just describe your site.”
- On screen
- User Onboarding Team, Sprint Planning, User & Market Research, No upcoming meetings, Core Product Team, No upcoming meetings, Kimi Agent, Dribbble, dashboard ui, Explore, Hire Talent, Community, Upgrade to Pro, Create New, Overview, Capsule - Restaurant Management Dashboard, Paperpillar, Orix Creative PRO+, Ilias miah © Hire Now PRO, Yow PRO, Get 20% (up to $100) off your first payment for design and development services on Dribbble! Use code WELCOME20, Get Started, KIMI, Build me a dashboard using liquid glass that are the styles of which I'll attach below and use similar position to the elements in the image as a reference. Also, add a day and night mode switcher but it should not be functional just now. I'll update on that later. Select template, Memory Lab, Cyber Rain, Dream Run, Flow Shader, Color Room, Vortex Gallery, Sunset Trip, ASCII Moon, Liquid Paint, Pinterest, Visit site, Description, Endless fields, endless dreams - where mythical blooms never fade. 🧚♀️✨ #MythicalHybridChallenge #FlowerFieldsForever #EternalSpring #FantasyBlooms..., See more, Purple Dawn Dreams, fundo design.3, AI modified, Youtube 6, Kimi Ai, Image, Layers, Image 588254438, Image 588254429, Rectangle 248663522, Desktop - 1, tf_202028304_081011_89b9f5e1-6, Group 2087328186, tf_202028304_081011_89b9f5e1-6, tf_202028304_081011_89b9f5e1-6, tf_202028512_012949_8b24738e-6e5f, hero-147, Nav Bar, Services, Social Link, Down Section, T building connections in every, 2026, Line, Heading, tf_202028512_012949_8b24738e-6e5f, make it a night scene just before the morning, not to dark, and the bubbles are not present in the scene. the aesthetics ans the to remain salem., ChatGPT Images 2.0, Edit image, Copying as PNG..., Overview, Dashboard, Menu Editor, Analytics, Staff, Help Center, Logout, Live Orders, Filter, T-14, T-12, T-13, Quick Actions, New Order, Table Map, Order History, New Reservation, DAY, NIGHT, Task completed, Beautiful design, real backend. Just describe your site
- Camera
- Screen recording demonstrating prompt input for a dashboard, image upload from Pinterest, AI image modification in Figma, and the generated dashboard with day/night mode.
- Motion
- Multi-application screen capture with smooth transitions, showcasing the AI's ability to integrate external design elements and generate complex UI components.
Call to Action
Social Sharing & Client Acquisition
“Now, let's share this on social media. This is a great way to get clients and build your community. So, I'm going to post this on X, formerly Twitter, and I'm going to tag Kimi Moonshot. And I'm going to say, 'Built this with Kimi Moonshot. Kimi 2.6 + GPT Image 2.' And then I'm going to post it. And that's it. That's how you use Kimi K2.6 to create professional websites in just 11 minutes. I hope you enjoyed this tutorial. If you have any questions, feel free to leave them in the comments below. And don't forget to like and subscribe for more videos like this. Thanks for watching!”
- On screen
- X, compose post, Viktor Oddy, 1,372 posts, Everyone, Drafts, built this with @Kimi_Moonshot, Kimi 2.6 + GPT Image 2, Edit, Overview, Everyone can reply, Get inspired with us, Post
- Camera
- Screen recording of composing a social media post on X (formerly Twitter), including tagging the product and adding a description.
- Motion
- Direct screen capture of a social media interface, emphasizing the ease of sharing and promoting AI-generated work.
Motion design primitives
Synthesizable in Remotion · key components of the ai-powered-design-workflow template.
RealtimeUIGeneration
Displays a user typing prompts into an AI chat interface, followed by a rapid, smooth transition to a fully rendered, complex web UI (e.g., a hero section or dashboard) based on the prompt.
+ Code construction recipe
Utilize `Sequence` and `AbsoluteFill` components. Animate text input with `TypewriterEffect` (character by character reveal). For UI generation, use `spring` animations for elements fading in and scaling up, combined with `interpolate` for position shifts. Leverage `OffthreadVideo` for pre-rendered UI elements or `Canvas` for dynamic, programmatic UI construction.
MultiAppWorkflowTransition
Seamlessly transitions between different desktop applications (e.g., browser, Figma, Pinterest) while maintaining context, often involving window resizing, tab switching, and cursor interactions.
+ Code construction recipe
Employ `AbsoluteFill` for each application screen. Use `spring` for window resizing and positioning. Implement `Sequence` for tab switching and `interpolate` for cursor movement paths. Consider `Composition` for pre-rendering complex application states to optimize performance.
InteractiveElementReveal
Highlights specific UI elements (e.g., buttons, input fields, generated components) with subtle animations like hover effects, click feedback, or a gentle glow, emphasizing user interaction.
+ Code construction recipe
Wrap interactive elements in `spring` or `interpolate` components for scale, opacity, or color changes on 'hover' or 'click' events. Use `SVG` filters for glow effects or `Canvas` for custom particle animations around highlighted areas. `useCurrentFrame` and `useVideoConfig` are crucial for timing these reveals.
Style DNA & aesthetic system
Visual aesthetic
Typography
Motion
Special effects
Pacing & rhythm
Conceptual story rhythm
- 1
Introduction & Promise
Purpose. Hook the viewer by immediately stating the product's value and setting expectations for the tutorial's efficiency.
Execution. Starts with a wide shot of a desktop, quickly zooming into a compelling web design preview, establishing the product's output quality.
- 2
Core Feature Demonstration
Purpose. Showcase the primary functionality of the AI tool through a step-by-step design process.
Execution. Detailed screen recordings of prompt input, AI generation, and real-time editing across different design tasks (hero sections, dashboards).
- 3
Advanced Capabilities & Customization
Purpose. Highlight the AI's flexibility and power in handling complex design requirements and integrations.
Execution. Demonstrates image manipulation, day/night mode implementation, and integration of external design references (Pinterest, Figma).
- 4
Impact & Call to Action
Purpose. Illustrate the practical benefits of using the tool for client acquisition and community building, concluding with a clear call to engage.
Execution. Shows the final output being shared on social media, reinforcing the product's utility beyond just design creation.
Remix in Animatiq Studio
Master remix prompt · agent-ready
Sample remix
Objective
Launch a new AI-powered video editing software that generates short-form content from long-form videos.How the recipe adapts
The video would open with a wide shot of the desktop, then zoom into the AI video editor's interface. It would demonstrate a user uploading a long-form video, typing a prompt like 'Generate 3 short-form clips for TikTok about product features,' and then show the AI rapidly processing and presenting three distinct, edited short-form videos. The MultiAppWorkflowTransition primitive would be used to show seamless switching between the editor, a stock footage library, and a social media platform for sharing. InteractiveElementReveal would highlight the 'Generate' button and the playback controls for the AI-generated clips. The overall pacing would remain calm and instructional, focusing on the efficiency and quality of the AI's output.Remix blueprint · ai-powered-design-workflow
Scene durations (4 scenes, 675s)
Key Remotion components
Related Creative Tools Product Launches
Explore all Creative Tools launches →
Anthropic Labs launches Claude Design, which turns conversation into prototypes, slides and one-pagers, powered by Claude Opus 4.7.
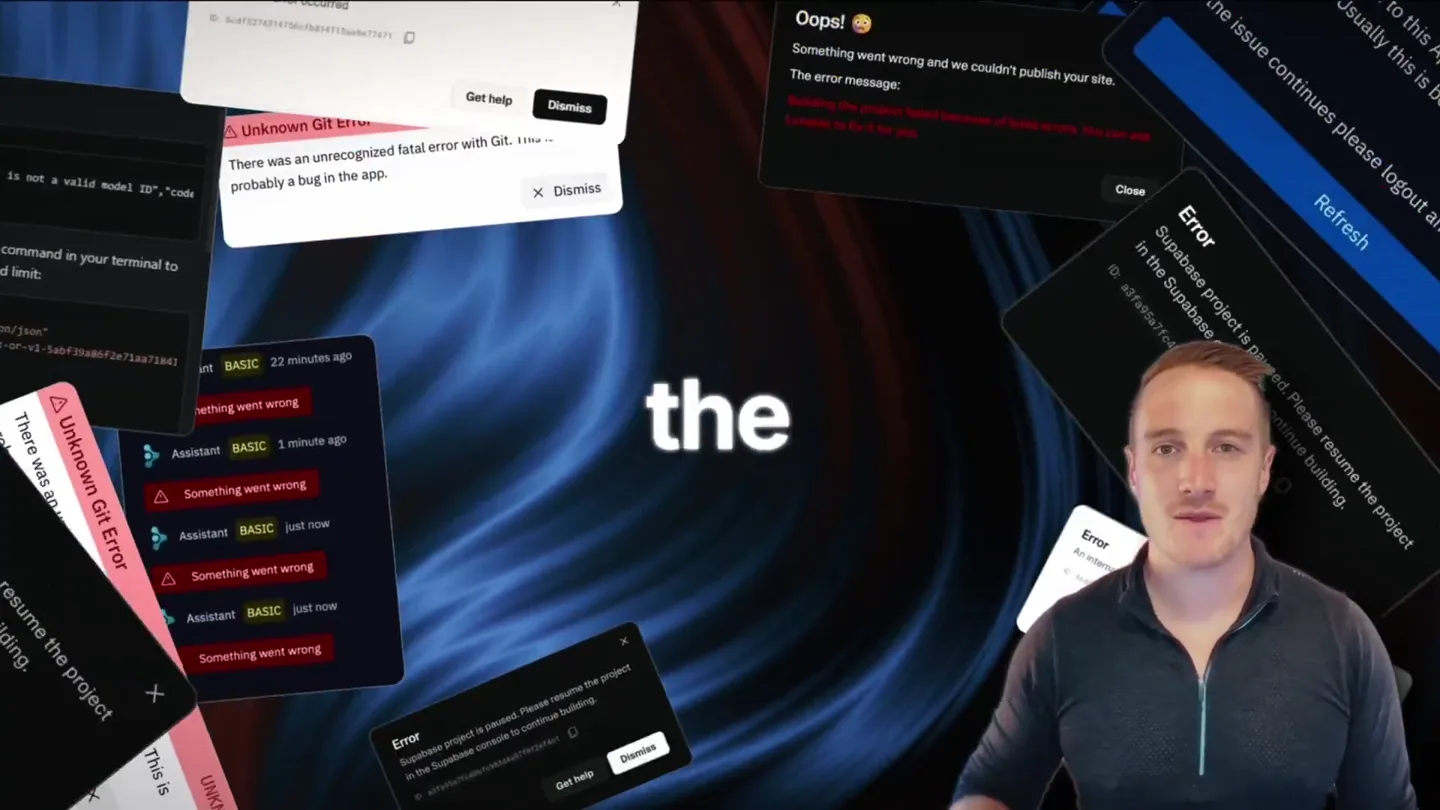
Bolt v2 pairs Claude Code and Codex agents with built-in hosting, database and storage so apps ship without setup.

Making life multiplanetary